


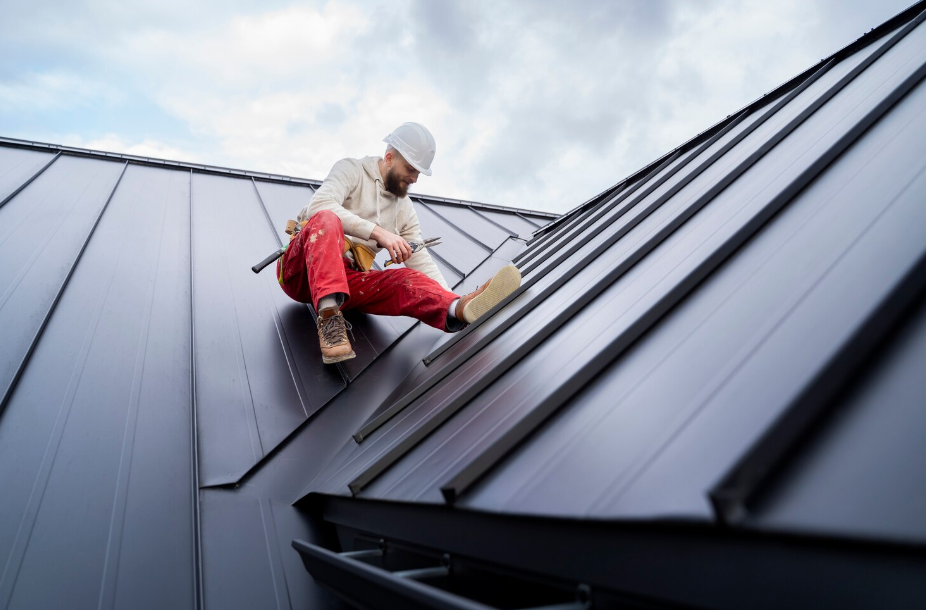

Replacing metal roof shingles might sound straightforward, but there’s more to it than just swapping old pieces for new. You need the right tools and materials, sure, but there’s also some method to it; you can’t just wing it. Clearing space, checking the weather, and securing loose items all play a part before even touching a shingle.
Taking your time during removal and installation really makes a difference. And honestly, having a roof shingle replacement service in mind while planning helps you think about the process more clearly. You’ll thank yourself when the roof actually holds up through rain and storms.
Attention to detail matters here. Lining things up properly, overlapping shingles, sealing edges, and inspecting each piece sounds a bit tedious, but it’s the stuff that keeps your roof lasting years without headaches.
Tools and Materials Needed
Before you start, gather all your tools and materials. A roofing hammer, utility knife, metal snips, caulking gun, chalk line, gloves, and goggles will cover most of what you need. Make sure you have enough replacement metal shingles, nails, roofing adhesive, and sealant to finish the job. It might feel like overkill to check everything twice, but trust me, it’s worth it.
Using quality materials is non-negotiable. Cheap stuff might work for a bit, but it won’t last, and that’s the opposite of what you want from a roof. Being prepared upfront makes the whole process smoother and less stressful.
Preparing the Work Area
Clearing your work area is one of those steps that’s easy to skip but makes a huge difference. Remove any debris or loose objects, and make sure there’s space to move around safely. You don’t want to trip over a ladder or tools halfway through. Checking the weather also helps; there’s no fun in slippery metal shingles during rain or wind.
It’s also a good time to check the roof structure itself. If there are weak spots or minor damage, it’s better to address them before installing new shingles. Taking these prep steps ensures you can work efficiently and safely without surprises.
Removing Old Shingles
Start by inspecting the old shingles for loose or damaged pieces. Use a flat bar and hammer to remove nails, working from the top down carefully. It’s slow work, but rushing can damage the roof deck underneath.
As each shingle comes off, look for any hidden problems. Sometimes the underlayment or wood beneath needs minor repairs, which is easier to handle now than later. A clean, smooth surface makes installing the new shingles much simpler.
Installing New Shingles
Begin at the bottom edge and work upward, overlapping shingles correctly to keep water out. Use the chalk line to keep rows straight. It helps everything look neat and professional. Nail each shingle securely, but don’t overdo it, because that can warp the metal.
Check your alignment regularly. A tiny gap now can cause leaks later, so adjust as you go. When you reach the peak, trim shingles to fit snugly, ensuring a proper seal and neat finish.
Sealing and Securing Shingles
Once installed, seal all edges and seams with a good-quality roofing sealant. This step keeps water from sneaking in and protects the nails or screws from rusting. Take your time smoothing the sealant so it forms a continuous barrier.
Inspect each shingle as you go. A little adjustment now prevents bigger headaches later. Let the sealant cure before doing any additional work on the roof. It needs time to bond properly.
Final Inspection and Maintenance
After everything is in place, walk the roof and inspect every shingle. Look for gaps, loose nails, or areas where the sealant didn’t fully cover. Flashing around vents, chimneys, and skylights also needs checking.
Clear any debris and make it a habit to inspect your roof at least once a year. A small problem now can turn into a big one if ignored. Keeping up with maintenance extends the life of your roof and keeps your shingles in place longer than you might expect.
Related Topics: