


Nailing roofing shingles might seem straightforward, but it’s a bit more involved than just hammering in some nails. You need the right type, the right spacing, and the correct technique to make sure your roof actually holds up. Galvanized steel nails are usually the go-to because they resist rust, and spacing them correctly keeps shingles from lifting during storms. You might not think about it, but thinking like a roof shingle installation expert can help you picture how each nail keeps the shingles secure.
Angles matter too. Driving nails straight down isn’t always best; getting the right angle keeps the shingles snug and prevents tearing. It’s one of those things that seems small but makes a big difference over time.
Importance of Using the Right Nails
Choosing the right nails isn’t just a suggestion; it can make or break your roof. Galvanized steel nails are common because they resist rust, and picking the right length and shank size keeps shingles from popping up. Nails that are too short may let shingles lift in strong winds. Nails that are too long can poke through the roof deck, causing leaks, yikes.
You want nails that sink in just right: snug, flush, but not overdriven. Taking a few extra minutes to pick the right ones saves trouble later. It’s one of those details that might seem small, but it keeps your roof solid and your shingles in place.
Proper Nail Spacing and Placement
Spacing and placement are other things people often overlook. Nails too close together or too far apart can create weak spots where shingles lift or shift. Usually, spacing about six inches along the edges works well for asphalt shingles, and a little wider in the middle.
It also helps to follow the nail line on the shingle. That’s where they’re supposed to go to stick properly and avoid cracks. Keeping nails aligned not only strengthens the roof but also makes it look tidy, which is satisfying when you step back and check your work.
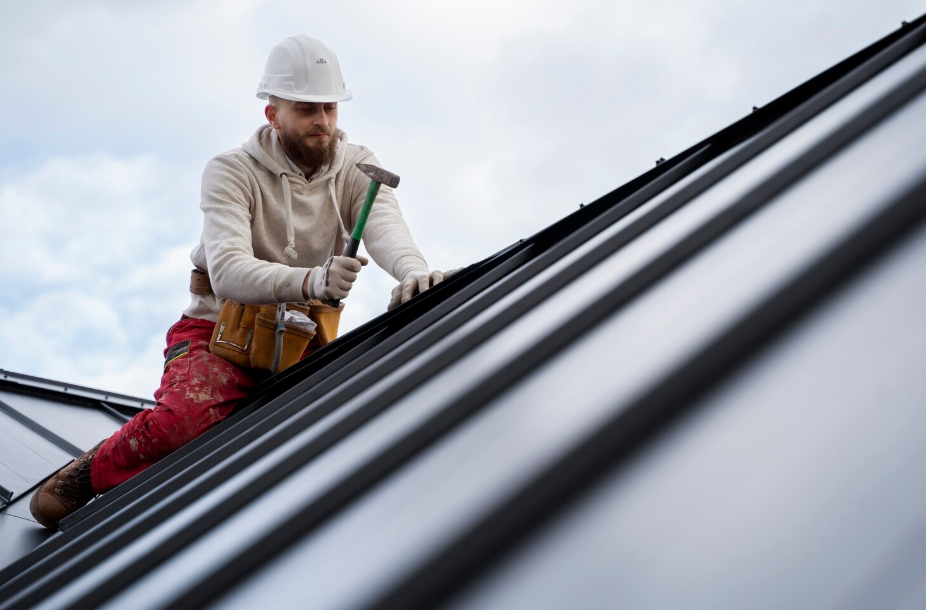
Angle and Technique for Nailing
The angle at which you drive nails really matters. Aim for roughly 45 degrees so the nail grabs both the shingle and the deck. Too steep or too shallow, and the shingle may tear or not hold properly.
The technique is just as important. Apply steady pressure and drive the nail flush, not too deep. It’s a bit repetitive, but it’s worth it; one poorly placed nail can turn into a problem later. Practicing a smooth, consistent motion helps get them all uniform.
Tips for Securing Shingles in Windy Areas
Windy areas can be tricky. Strong gusts can lift shingles if the nails aren’t strong enough. Using longer nails or thicker-shanked nails provides extra grip. Some people even prefer ring-shank nails because they resist being pulled out.
It also helps to stagger the nails and dab a bit of roofing cement under each tab. This adds adhesion where the wind is most likely to pry shingles up. Taking a little extra care here can prevent a lot of headaches later.
Checking for Overdriven or Underdriven Nails
Overdriven nails can sink too deeply, damaging shingles and making them weaker. Underdriven nails don’t hold the shingles properly, leaving them vulnerable to wind. Checking nail depth as you go is kind of like proofreading your own work; you fix mistakes before they become bigger issues.
Nails should sit flush with the surface, snug but not crushing the shingle. A quick visual check here and there keeps things in check and ensures the roof stays secure.
Final Inspection and Maintenance Tips
After nailing everything in, take a careful walk around the roof. Look for loose, missing, or uneven shingles. Check flashing around vents, chimneys, and skylights to make sure everything is sealed tight.
Gutters matter too; clear debris so water flows freely and doesn’t pool on the roof. Doing these small maintenance checks regularly keeps shingles in place and extends the life of your roof. It’s easy to forget, but consistent upkeep pays off big over the years.
Related Topics: